Hetzner
1. Prerequisites
Before you can deploy and manage clusters on Hetzner with KubeDNA, ensure you meet the following requirements:
You have setup your KubeDNA Account
Payment details have been setup in your KubeDNA account
You have an active Hetzner account with administration rights.
Administrative rights must include the ability to configure clusters and network settings.
A basic understanding of Kubernetes architecture and concepts.
2. Installation Guide
Follow each of the below steps to be up and running in minutes. If you don't have an account on Hetzner yet, you can easily create one here: https://accounts.hetzner.com/signUp.
2.1 Creating a Cluster on Hetzner
The below video shows how to create a project and API token for that project on Hetzner. below the video is a step by overview with screenshots.
2.2 Step by Step Overview
This step-by-step overview will take you through the steps of creating a project on Hetzner and an API token that is needed in KubeDNA to create and manage your cluster.
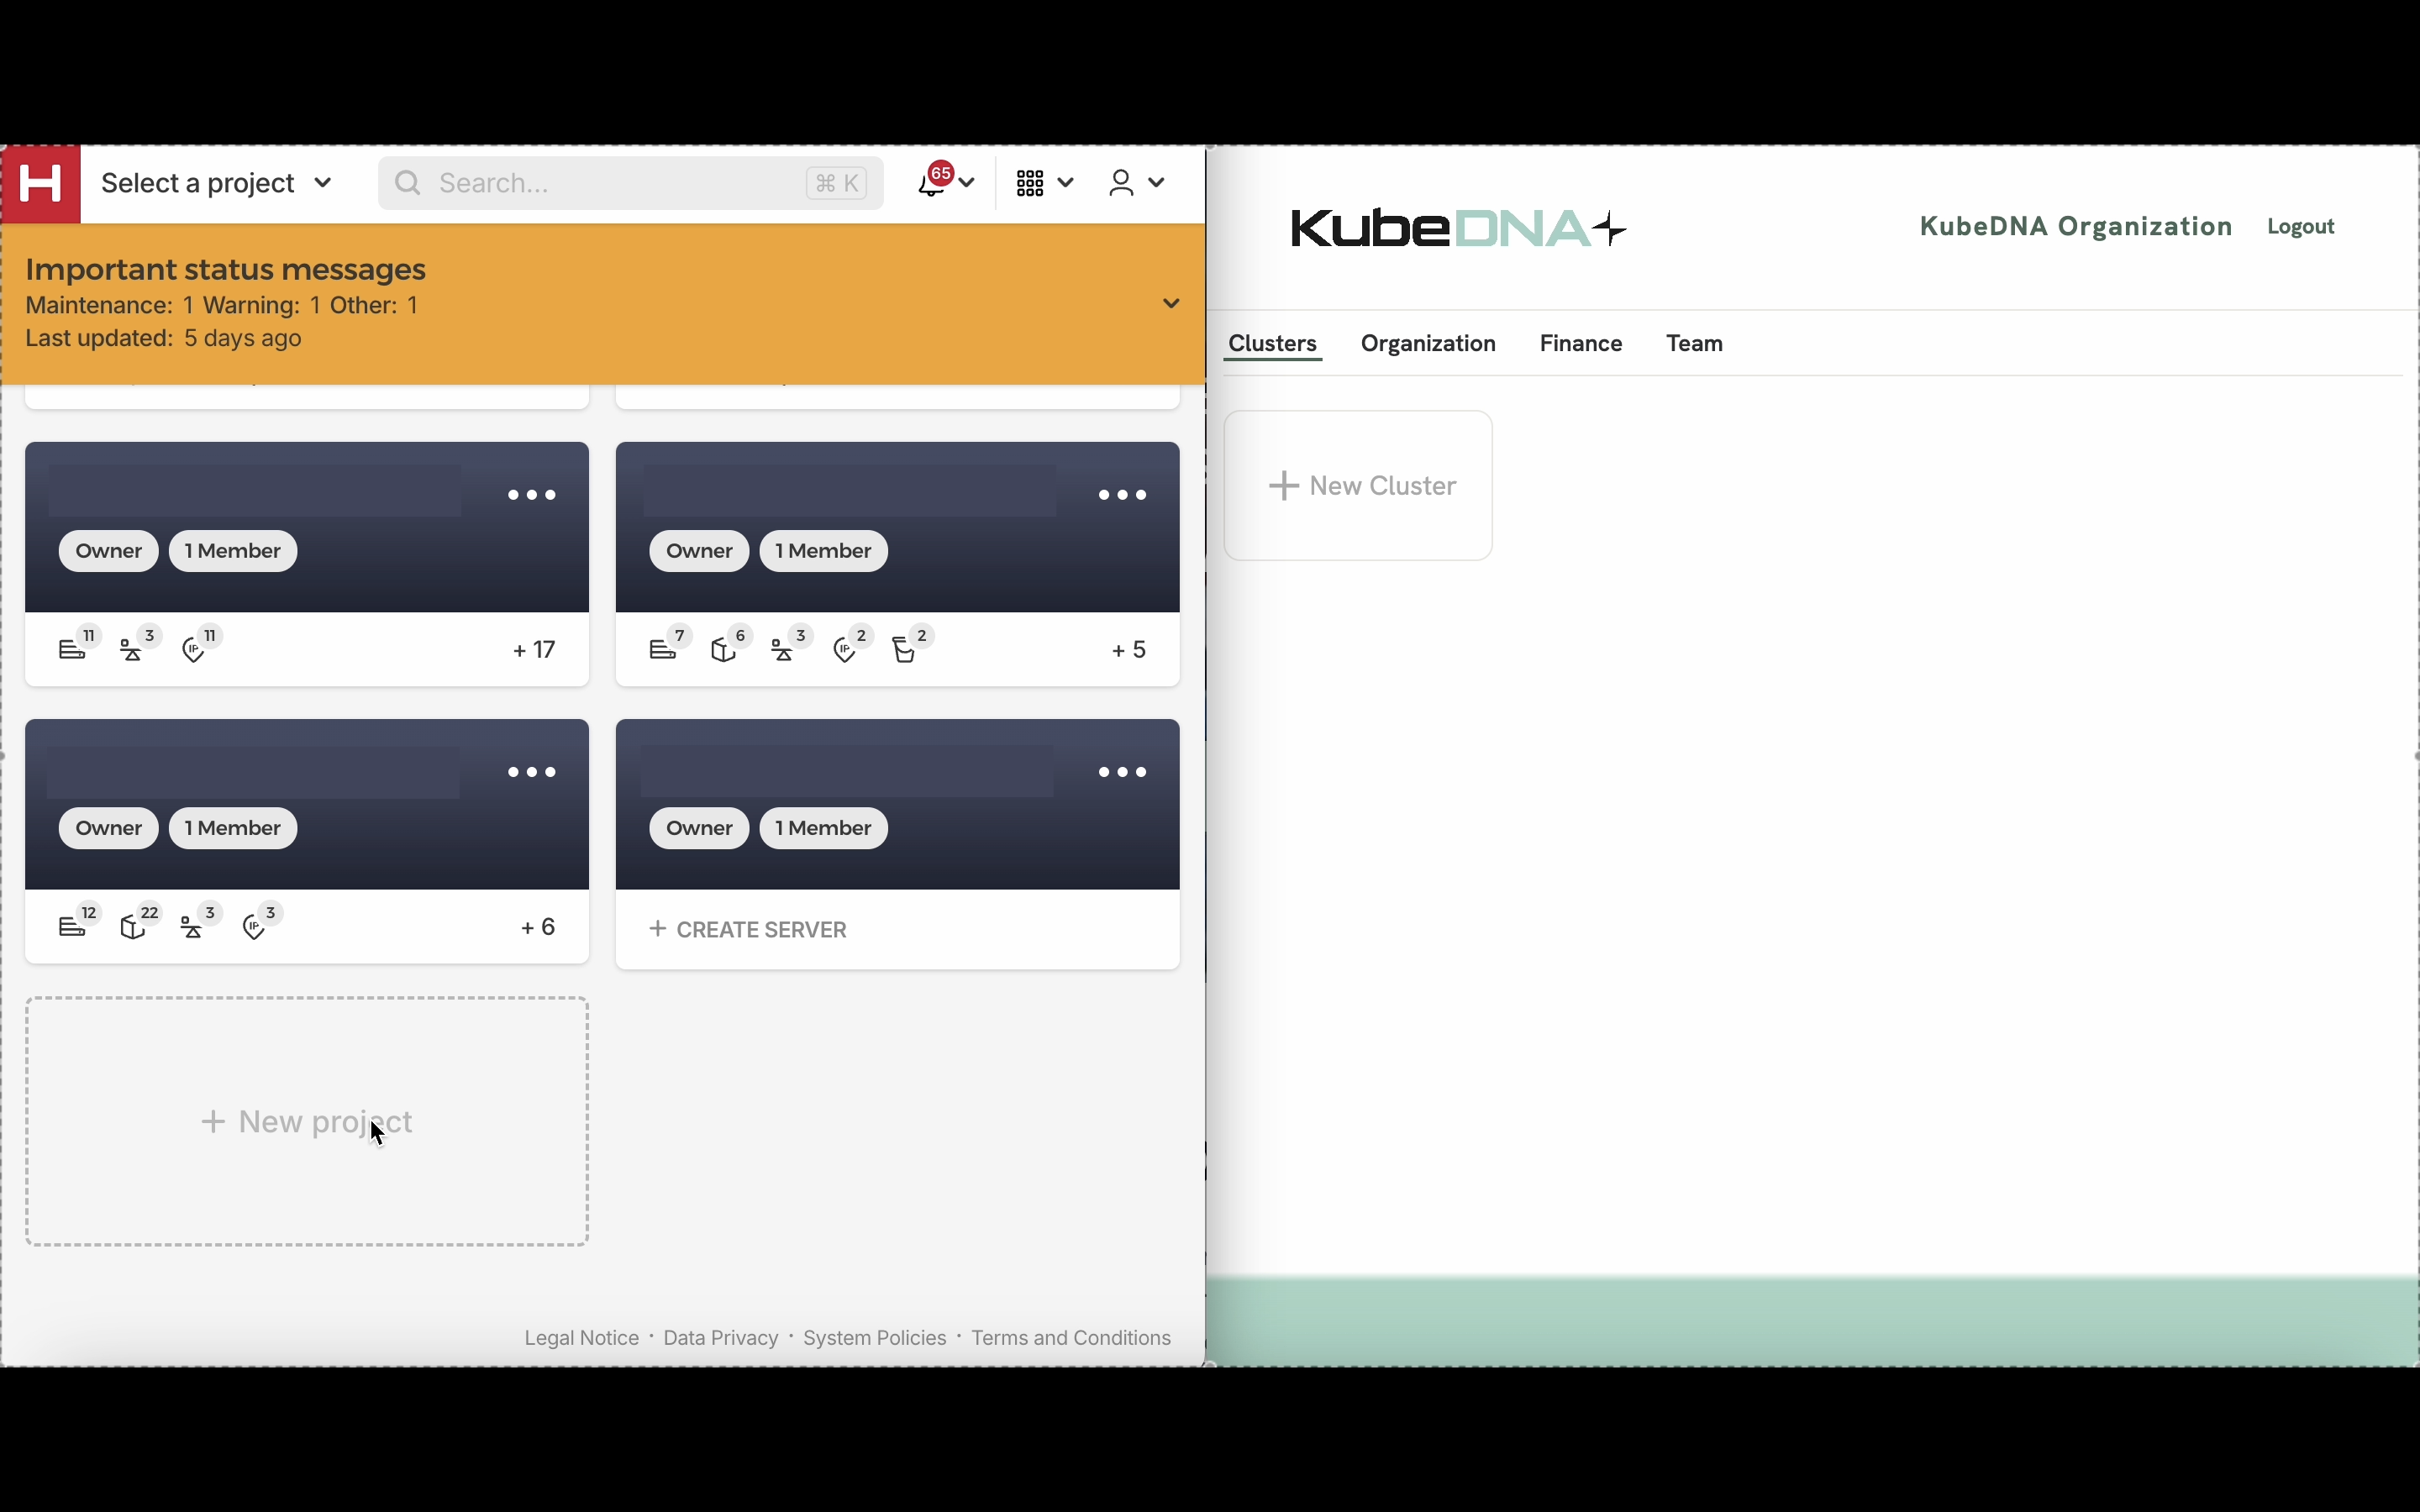
2.2.1 Create a Project on Hetzner
When logged into your Hetzner account, click on the “New Project” button. In the popup enter the name of the cluster and click the “Add Project” button.
2.2.2 Obtain your Hetzner Project API-Key
Click on the tile of the project you created
In the left-side menu, click on the Security option.
In the top of the security page, click on the API-token tab.
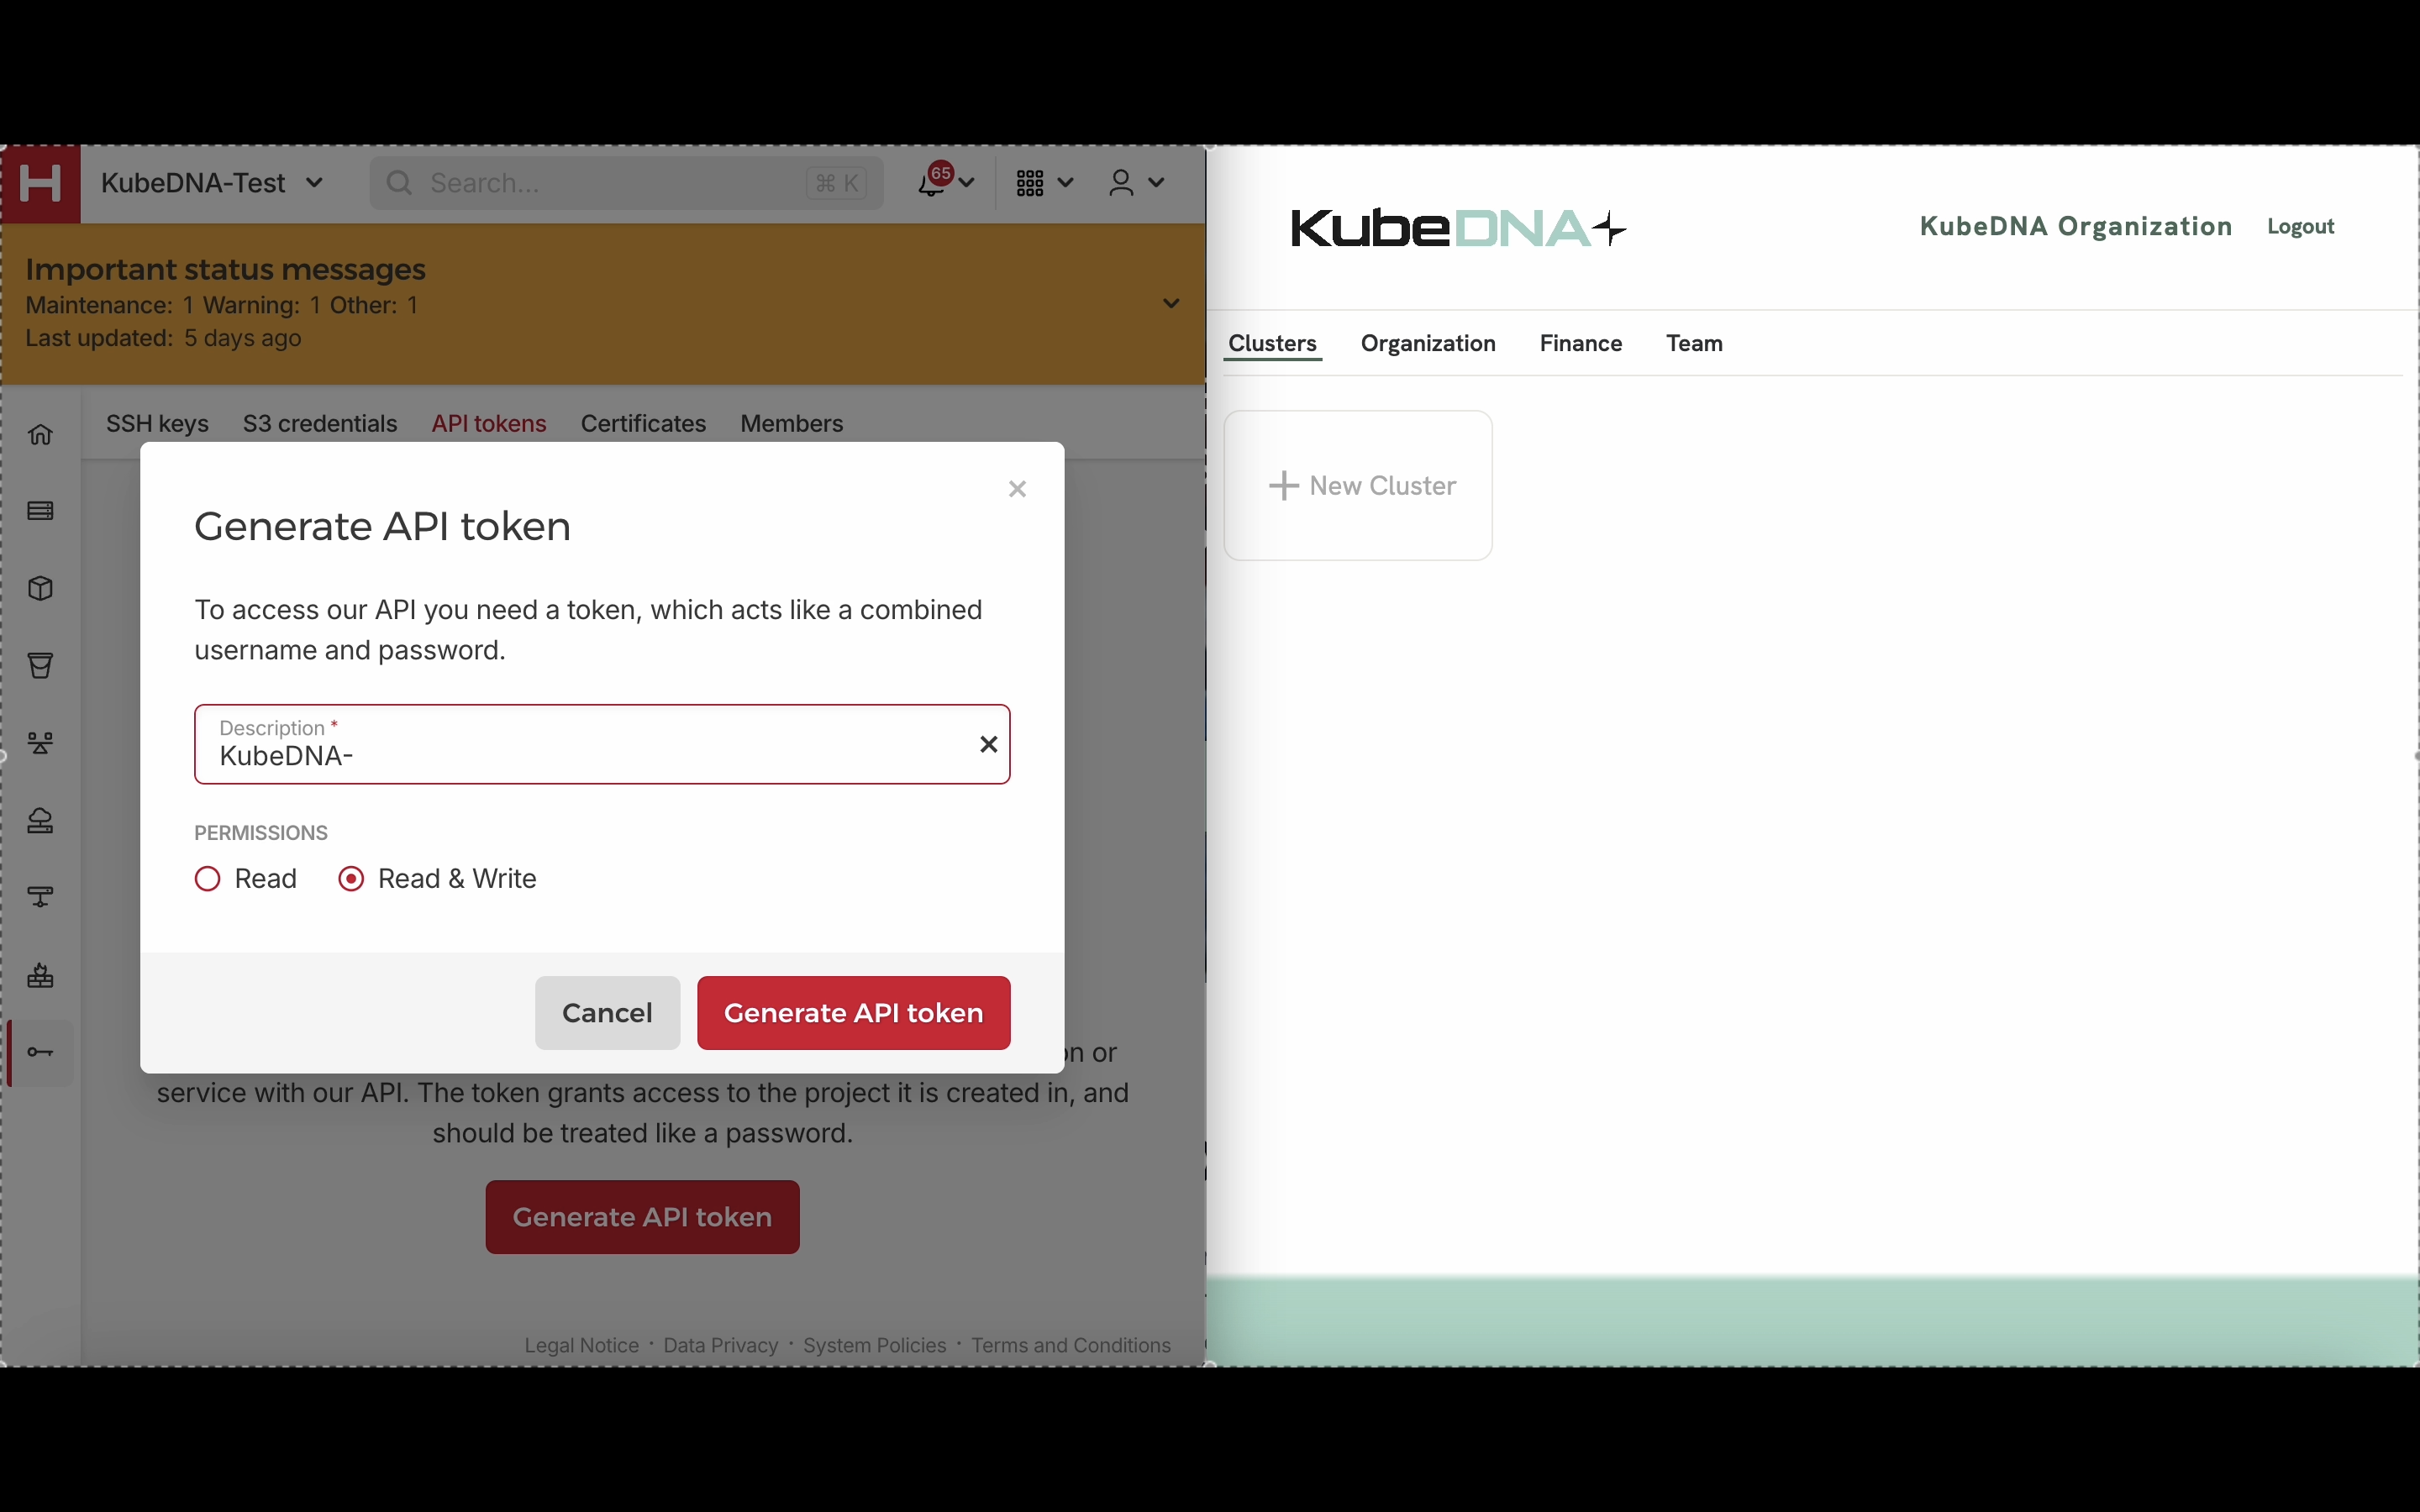
Click on Generate API Token.
In the pop-up enter the name for the API Token.
Make sure that Read & Write is selected and then click the Generate API Token button.
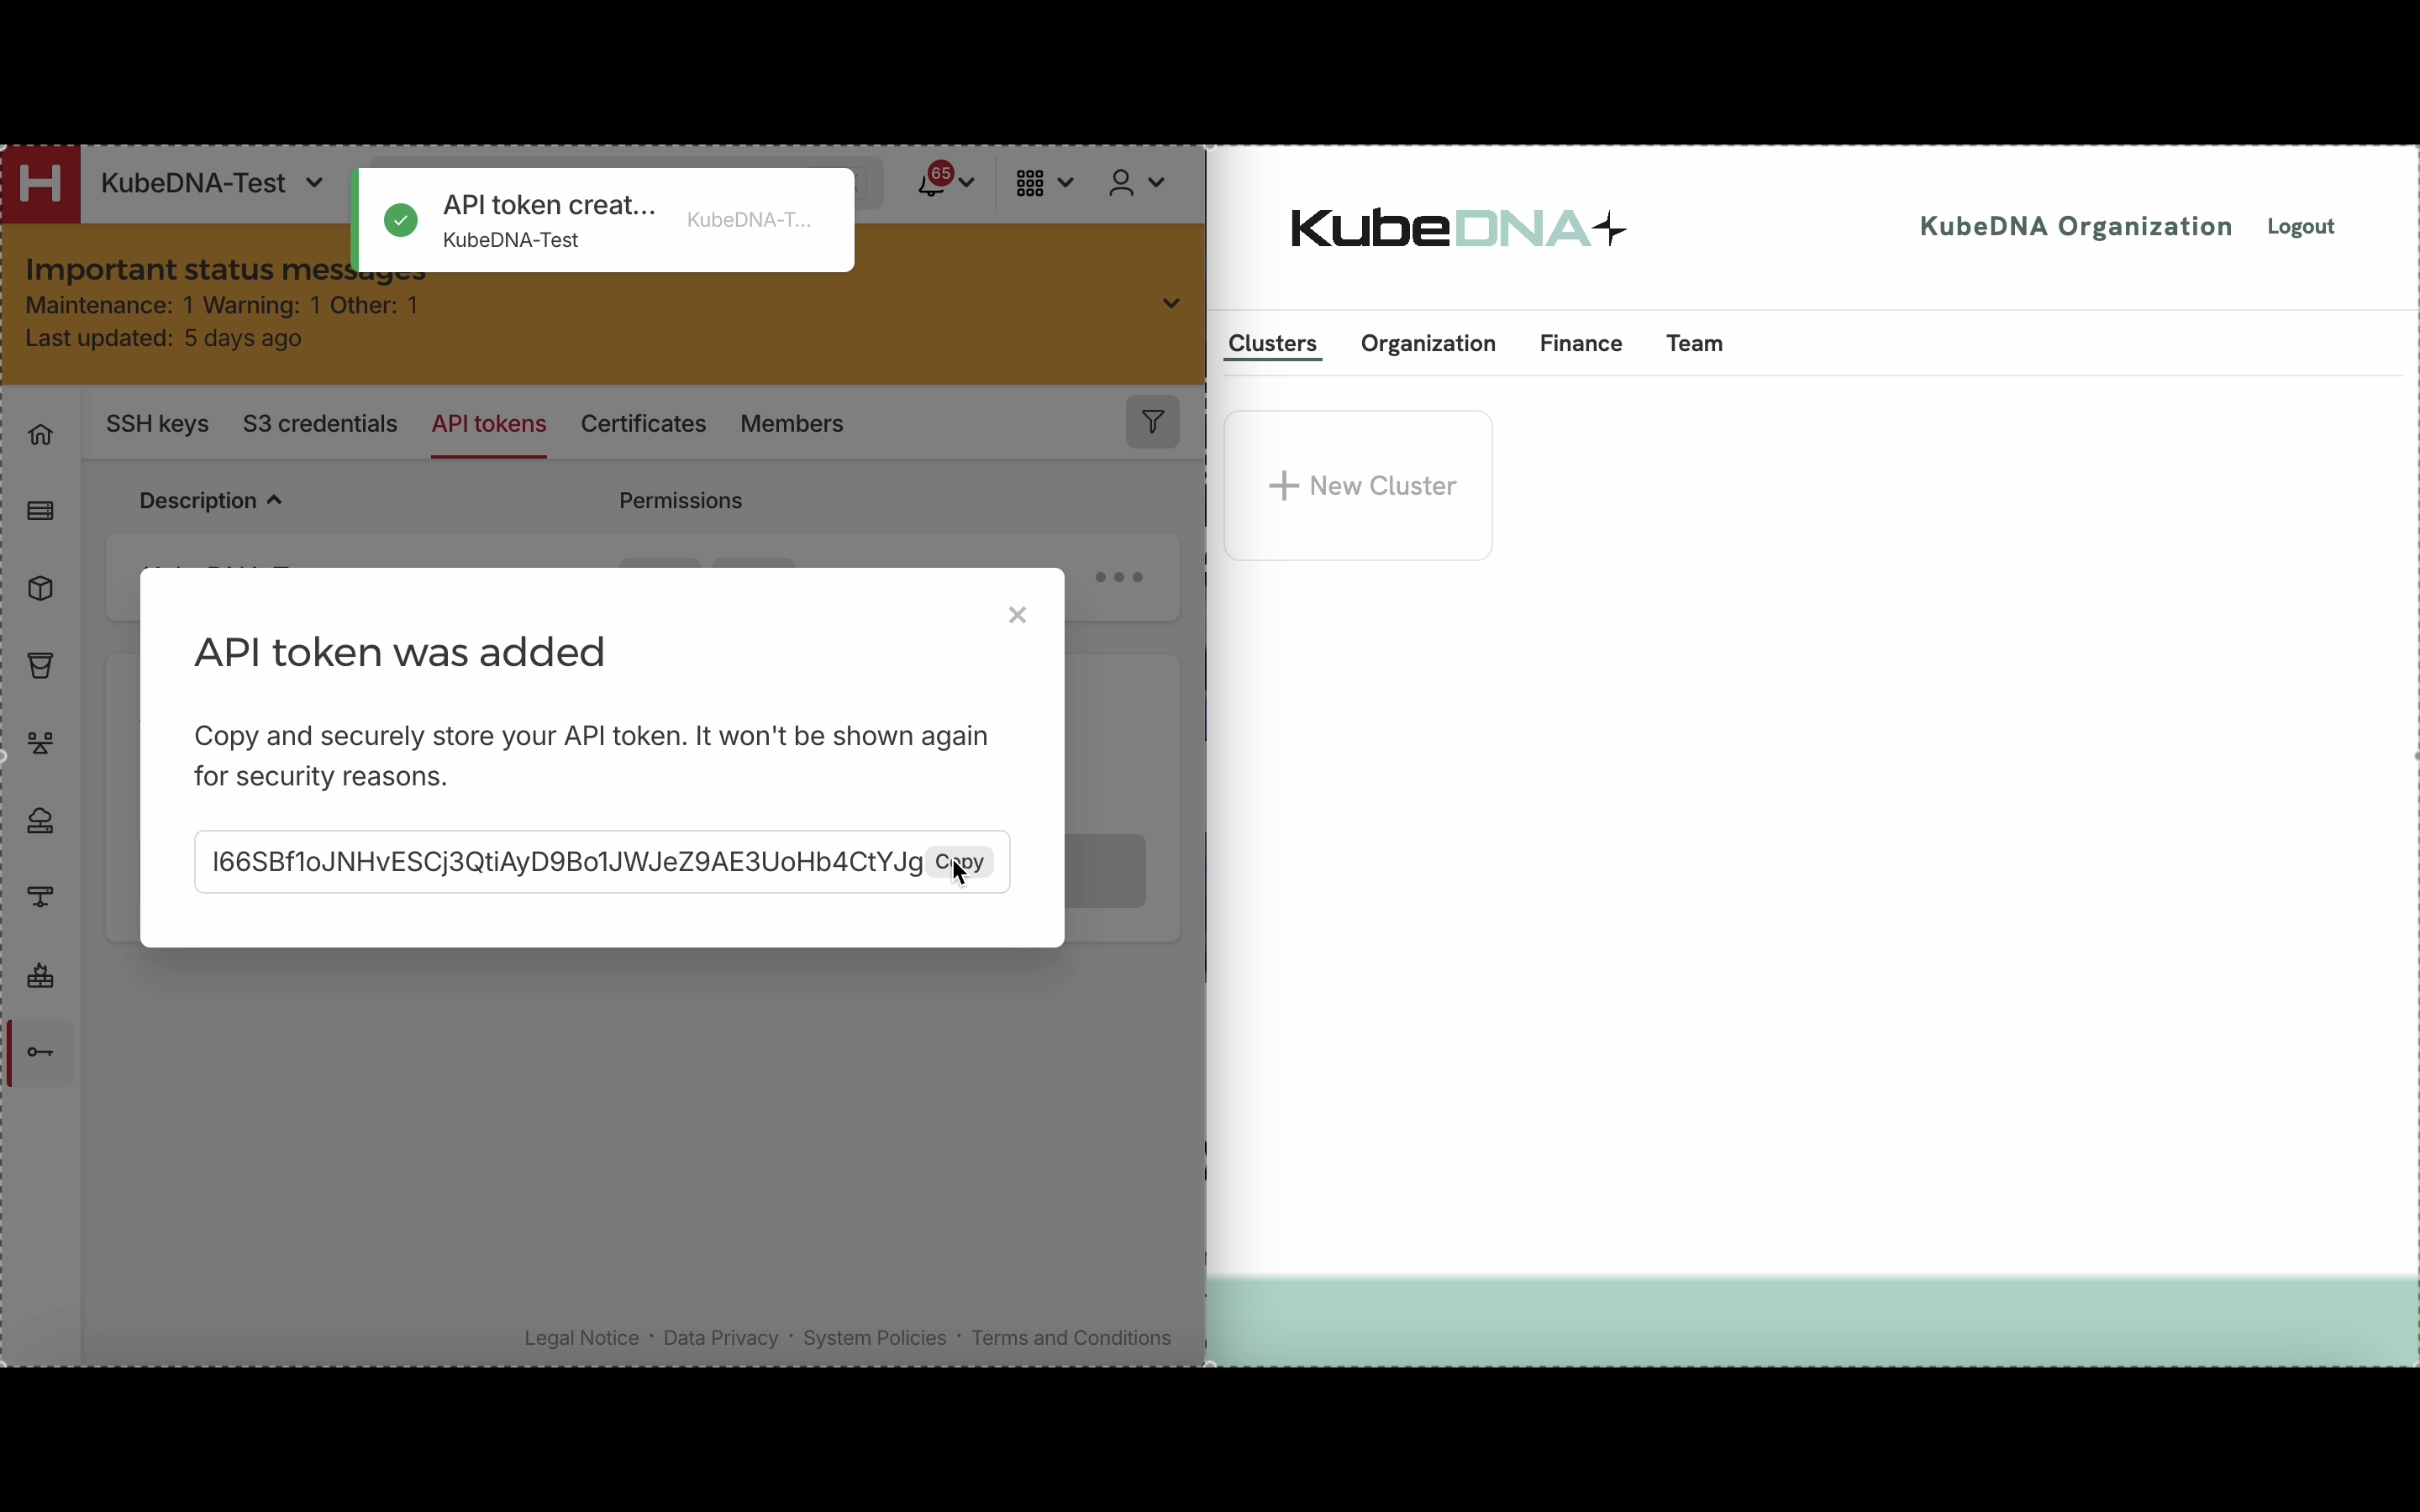
In the popup that apears, click on Show and then Copy.
You will need this API Token to create a cluster with KubeDNA.
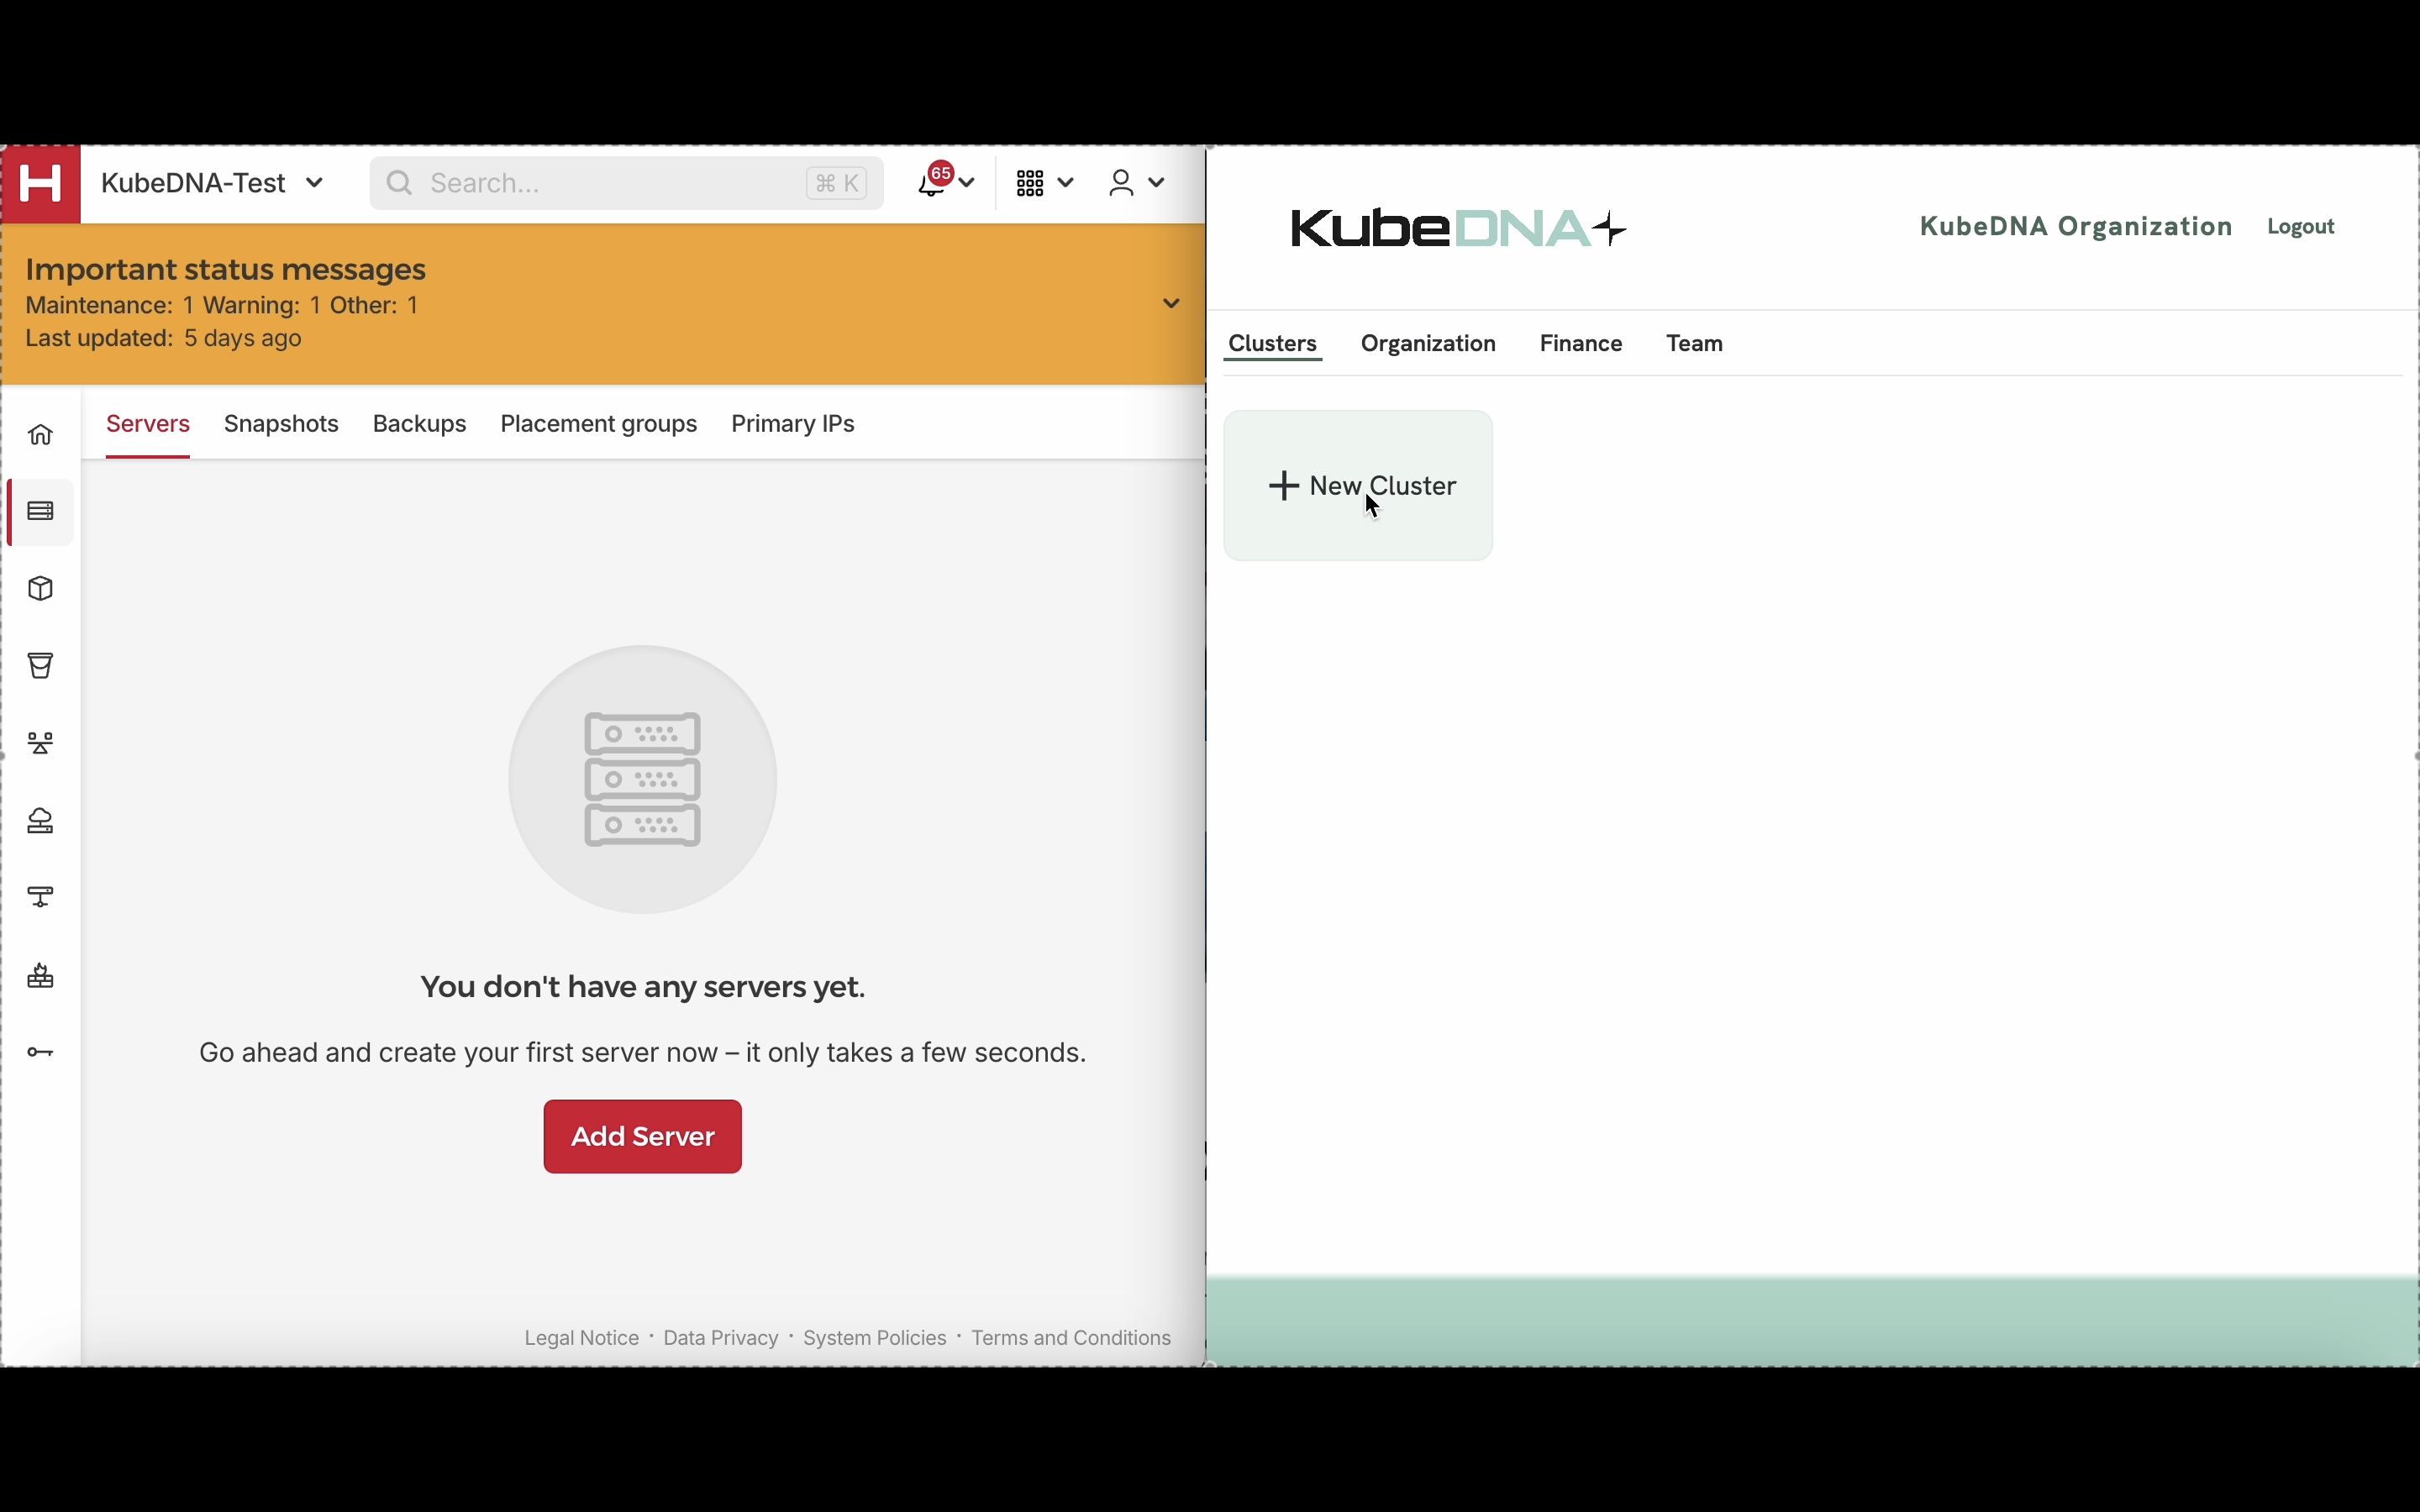
2.2.3 Creating and Sizing your cluster on KubeDNA
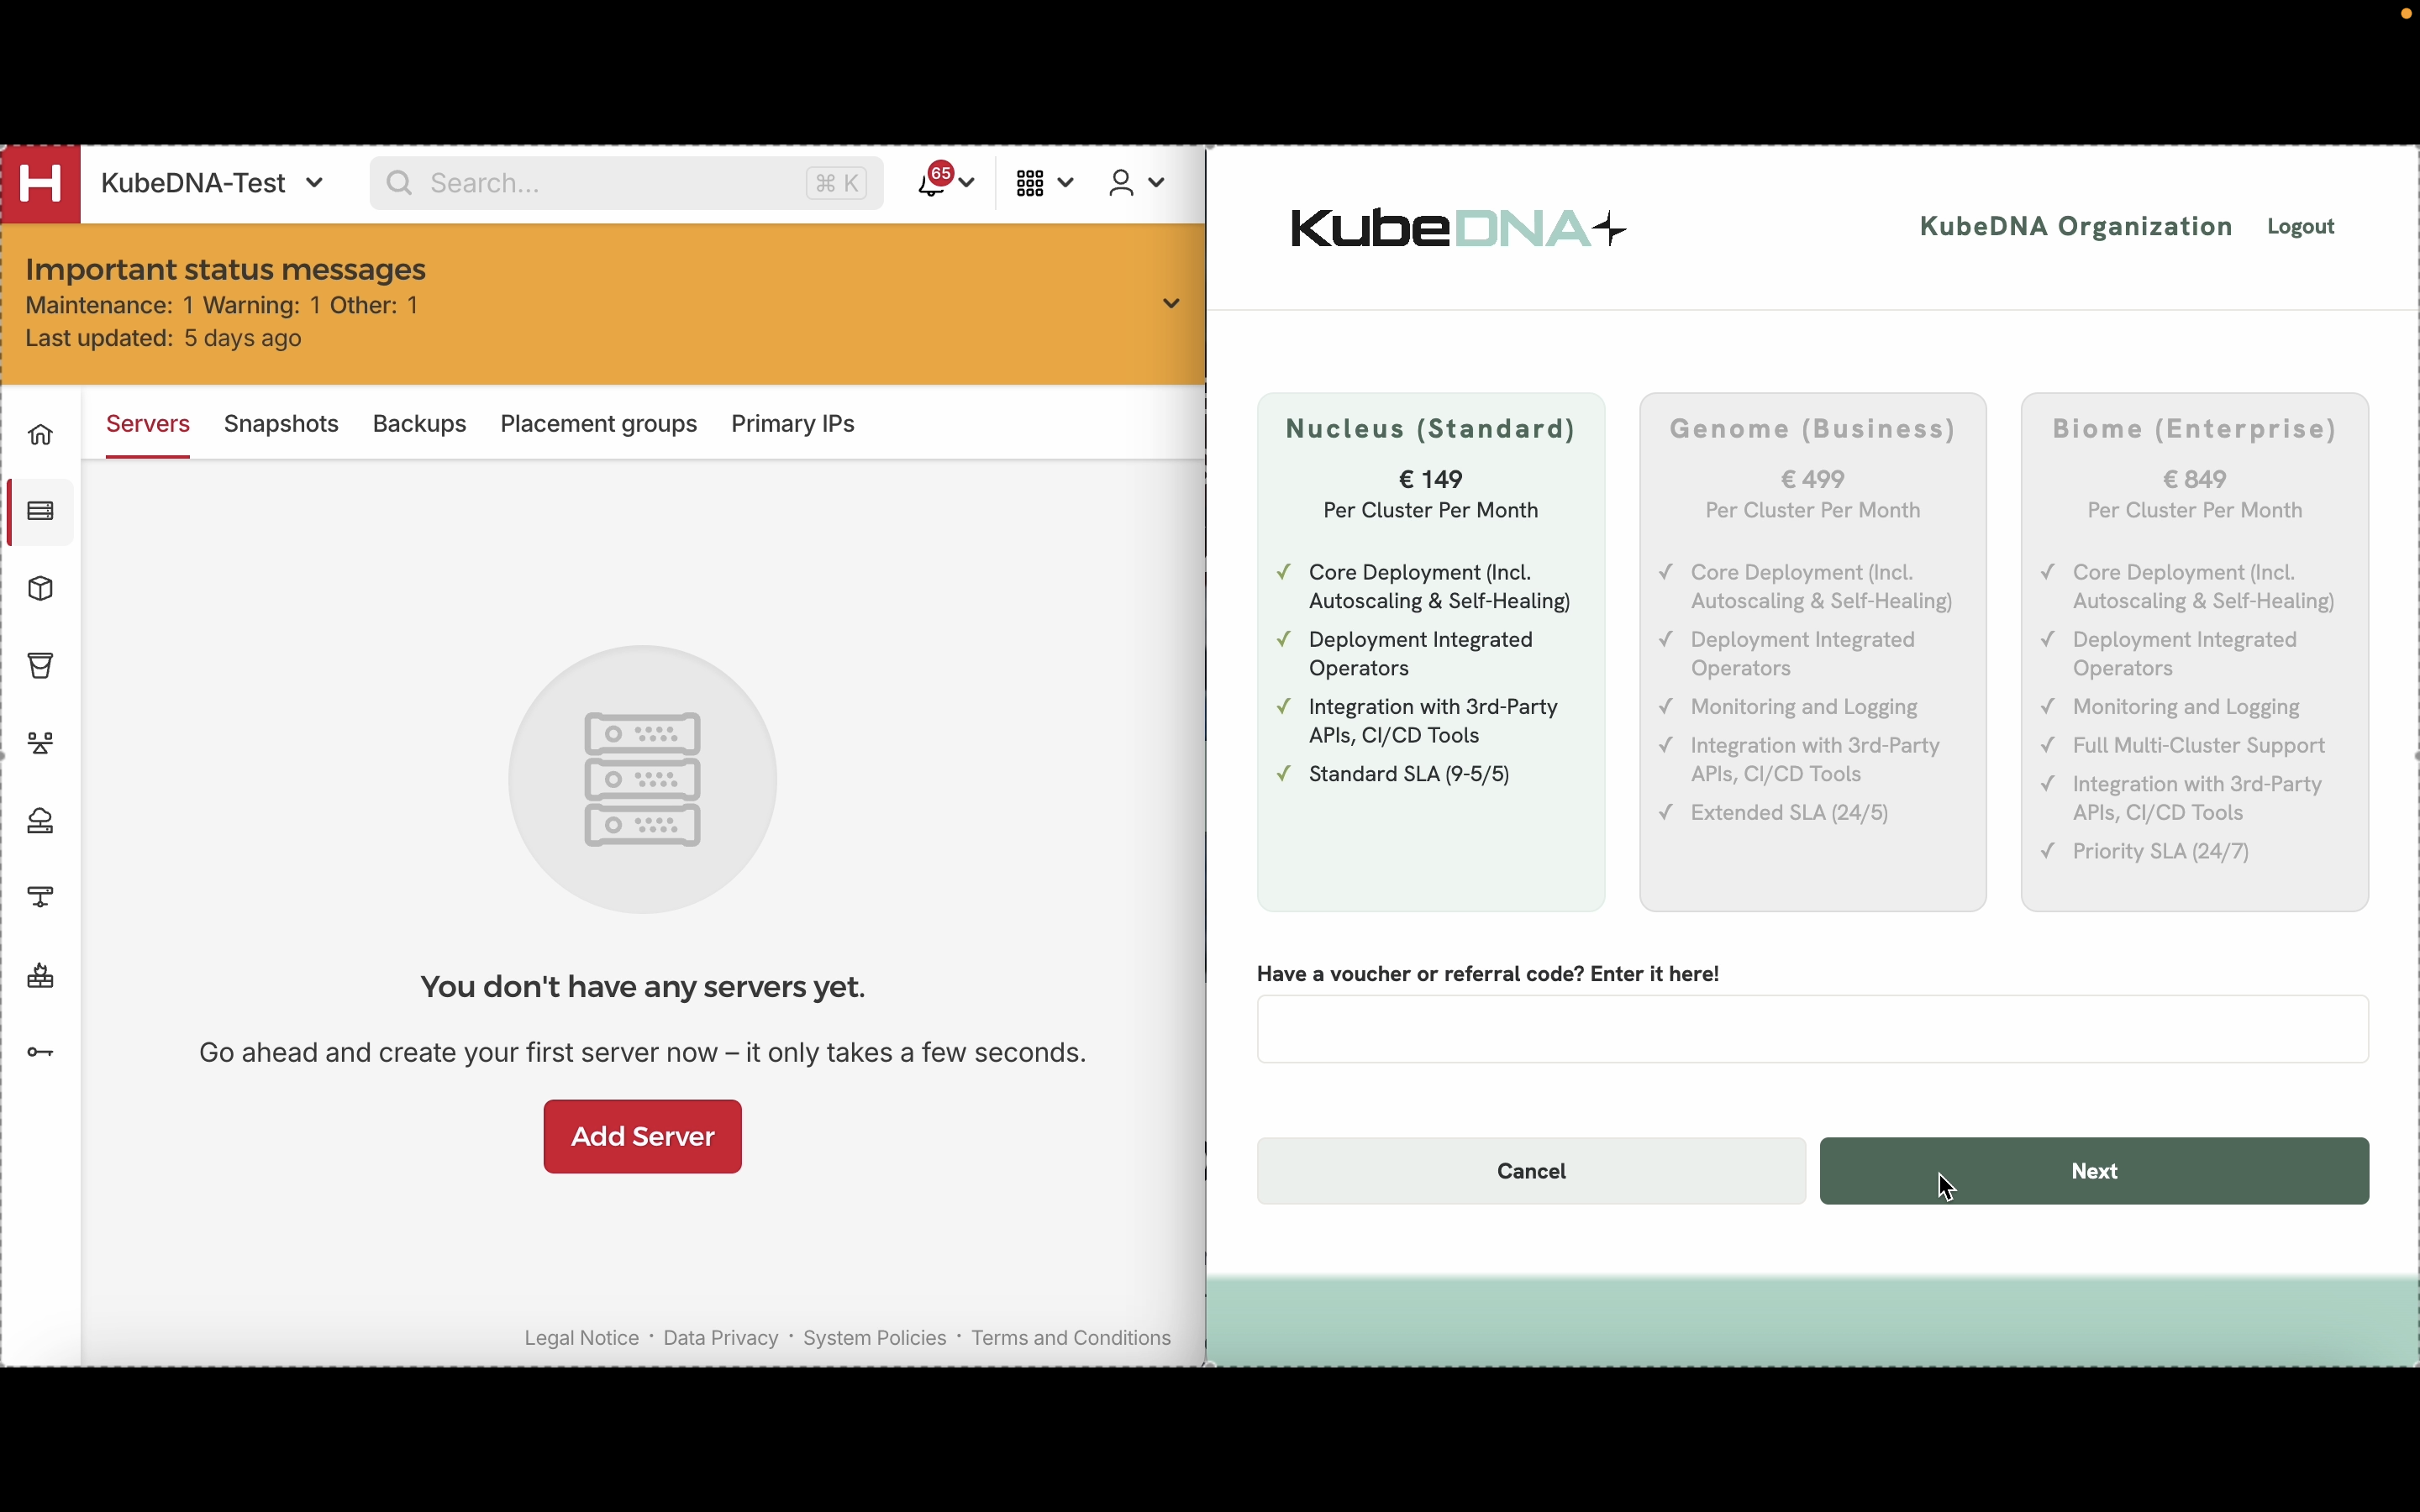
Click the "+" icon on the homepage.
Select the subscription of your choice and enter a voucher code if you have on.
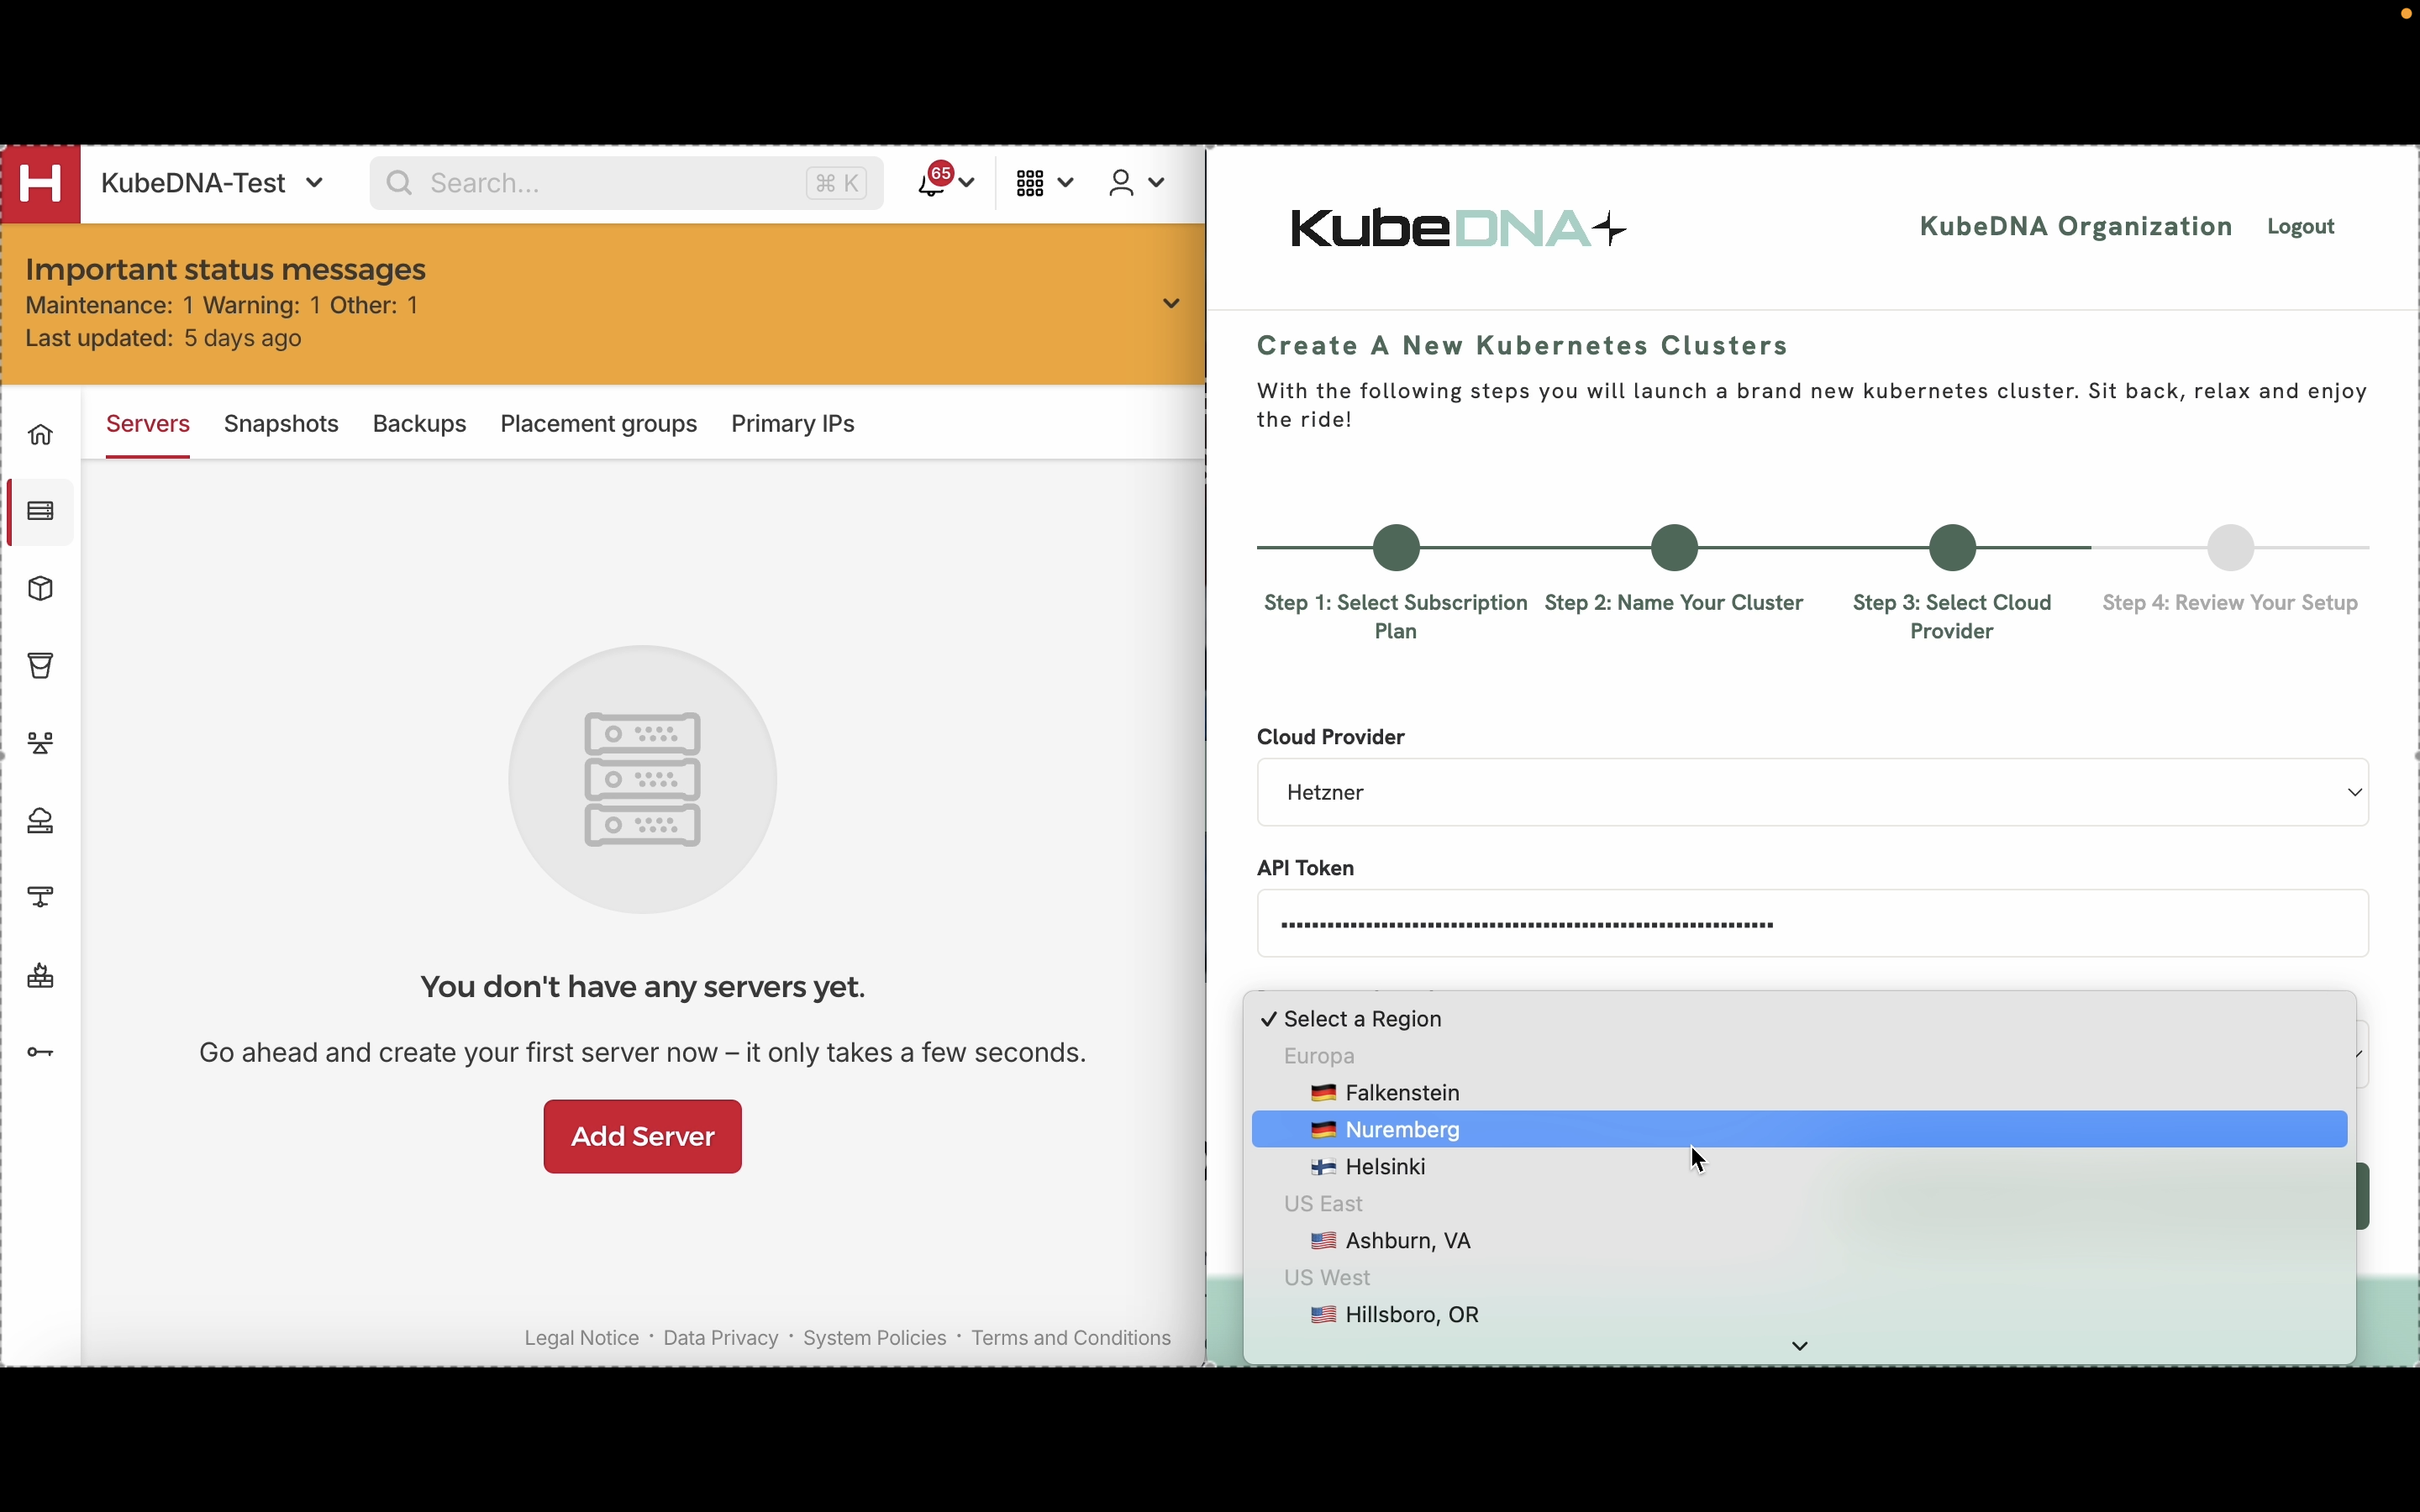
Enter the name and description of the cluster.
Select Hetzner as cloud provider, paste the API token, and select your the region where you want your cluster to be hosted.
Click on "Add Cluster Nodes" to automatically select three server nodes, ensuring high availability for your Kubernetes cluster.
Configure cluster dimensions:
Min-nodes: Minimum number of nodes required.
Max-nodes: Maximum number of nodes during peak scaling.
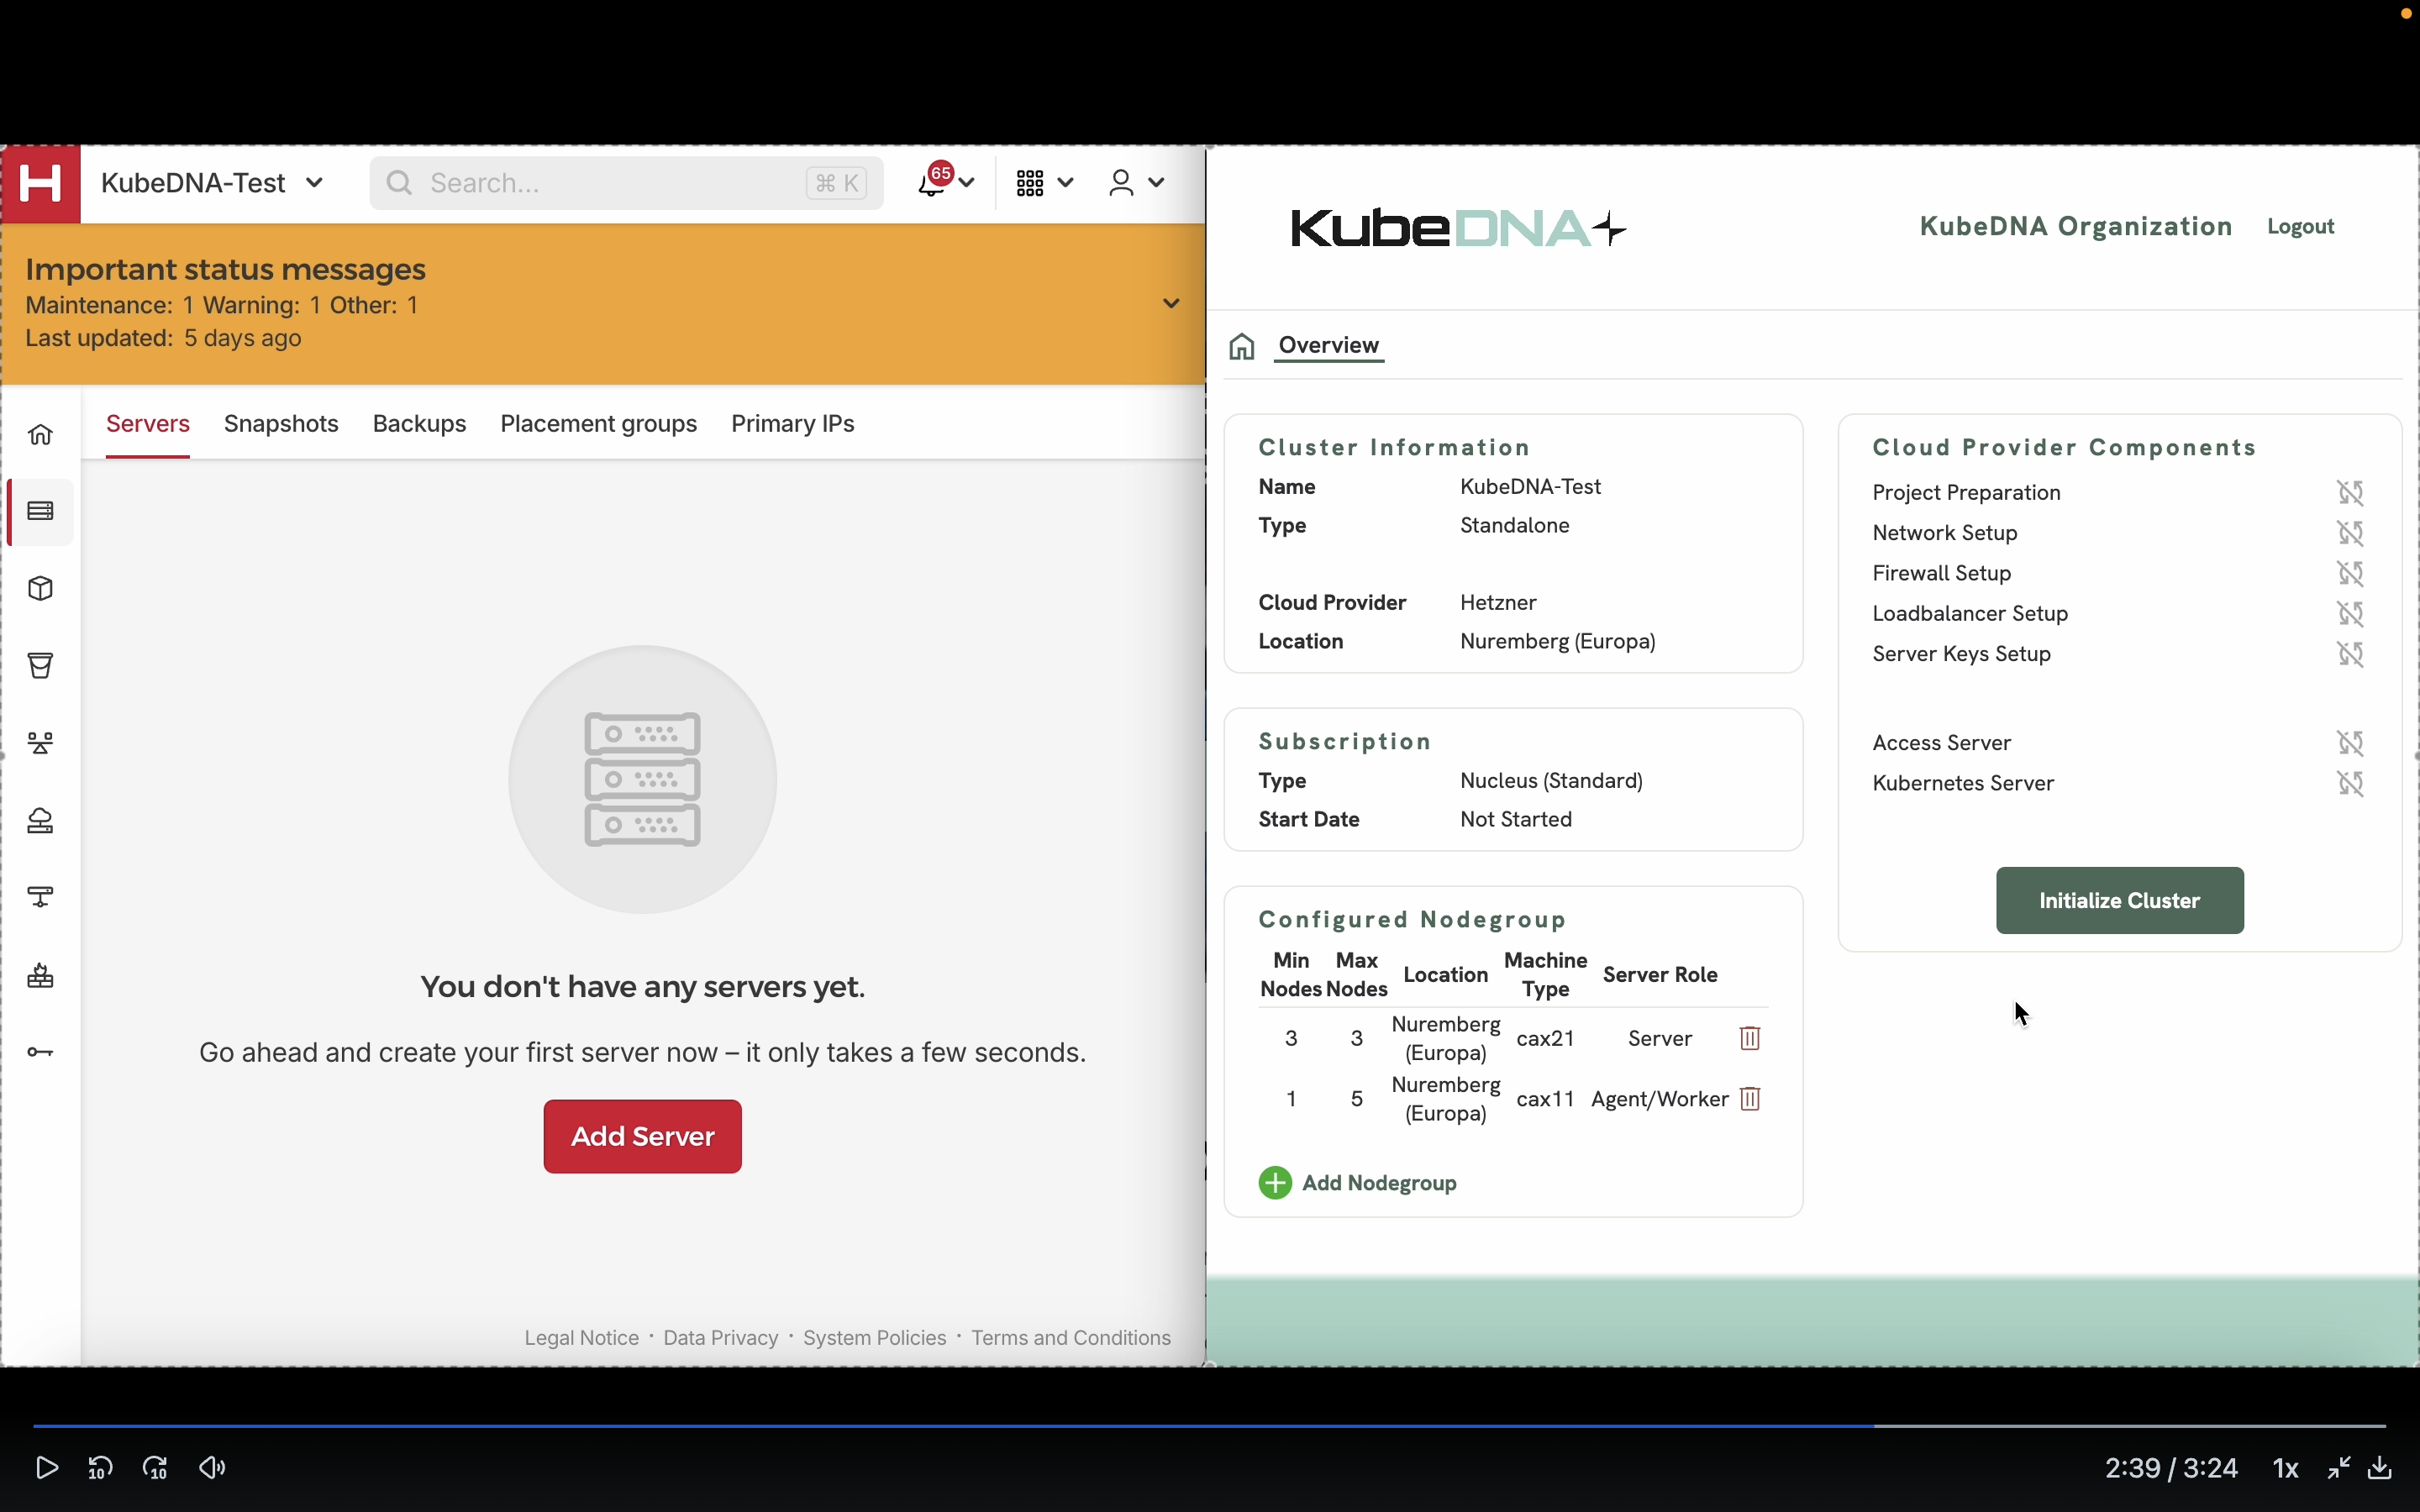
Finaly click Initialize Cluster. You can now close the window. once your cluster is ready to go, you will receive an email notification.