Leaf Cloud
This guide outlines the steps for deploying and managing Kubernetes clusters on LeafCloud using KubeDNA. It covers prerequisites, creating the necessary application credentials on LeafCloud, and provisioning a cluster from the KubeDNA dashboard.
Prerequisites
Before you begin, ensure the following requirements are met:
KubeDNA Account
You have created and activated your KubeDNA account.
(Refer to Creating a KubeDNA Account for instructions.)Payment Details
Your payment details are set up in your KubeDNA account.LeafCloud Account
You have an active LeafCloud account with administrative rights, including the ability to configure clusters and network settings.Kubernetes Fundamentals
You possess a basic understanding of Kubernetes architecture and core concepts.
Installation Guide
Follow these steps to quickly deploy your cluster on LeafCloud using KubeDNA.
A. Generating Application Credentials on LeafCloud
Log In to LeafCloud
Navigate to https://leaf.cloud and log in with your credentials.
Access the OpenStack Menu
From the main navigation menu, click on OpenStack.
Navigate to Application Credentials
In the sidebar, go to Identity and then select Application Credentials.
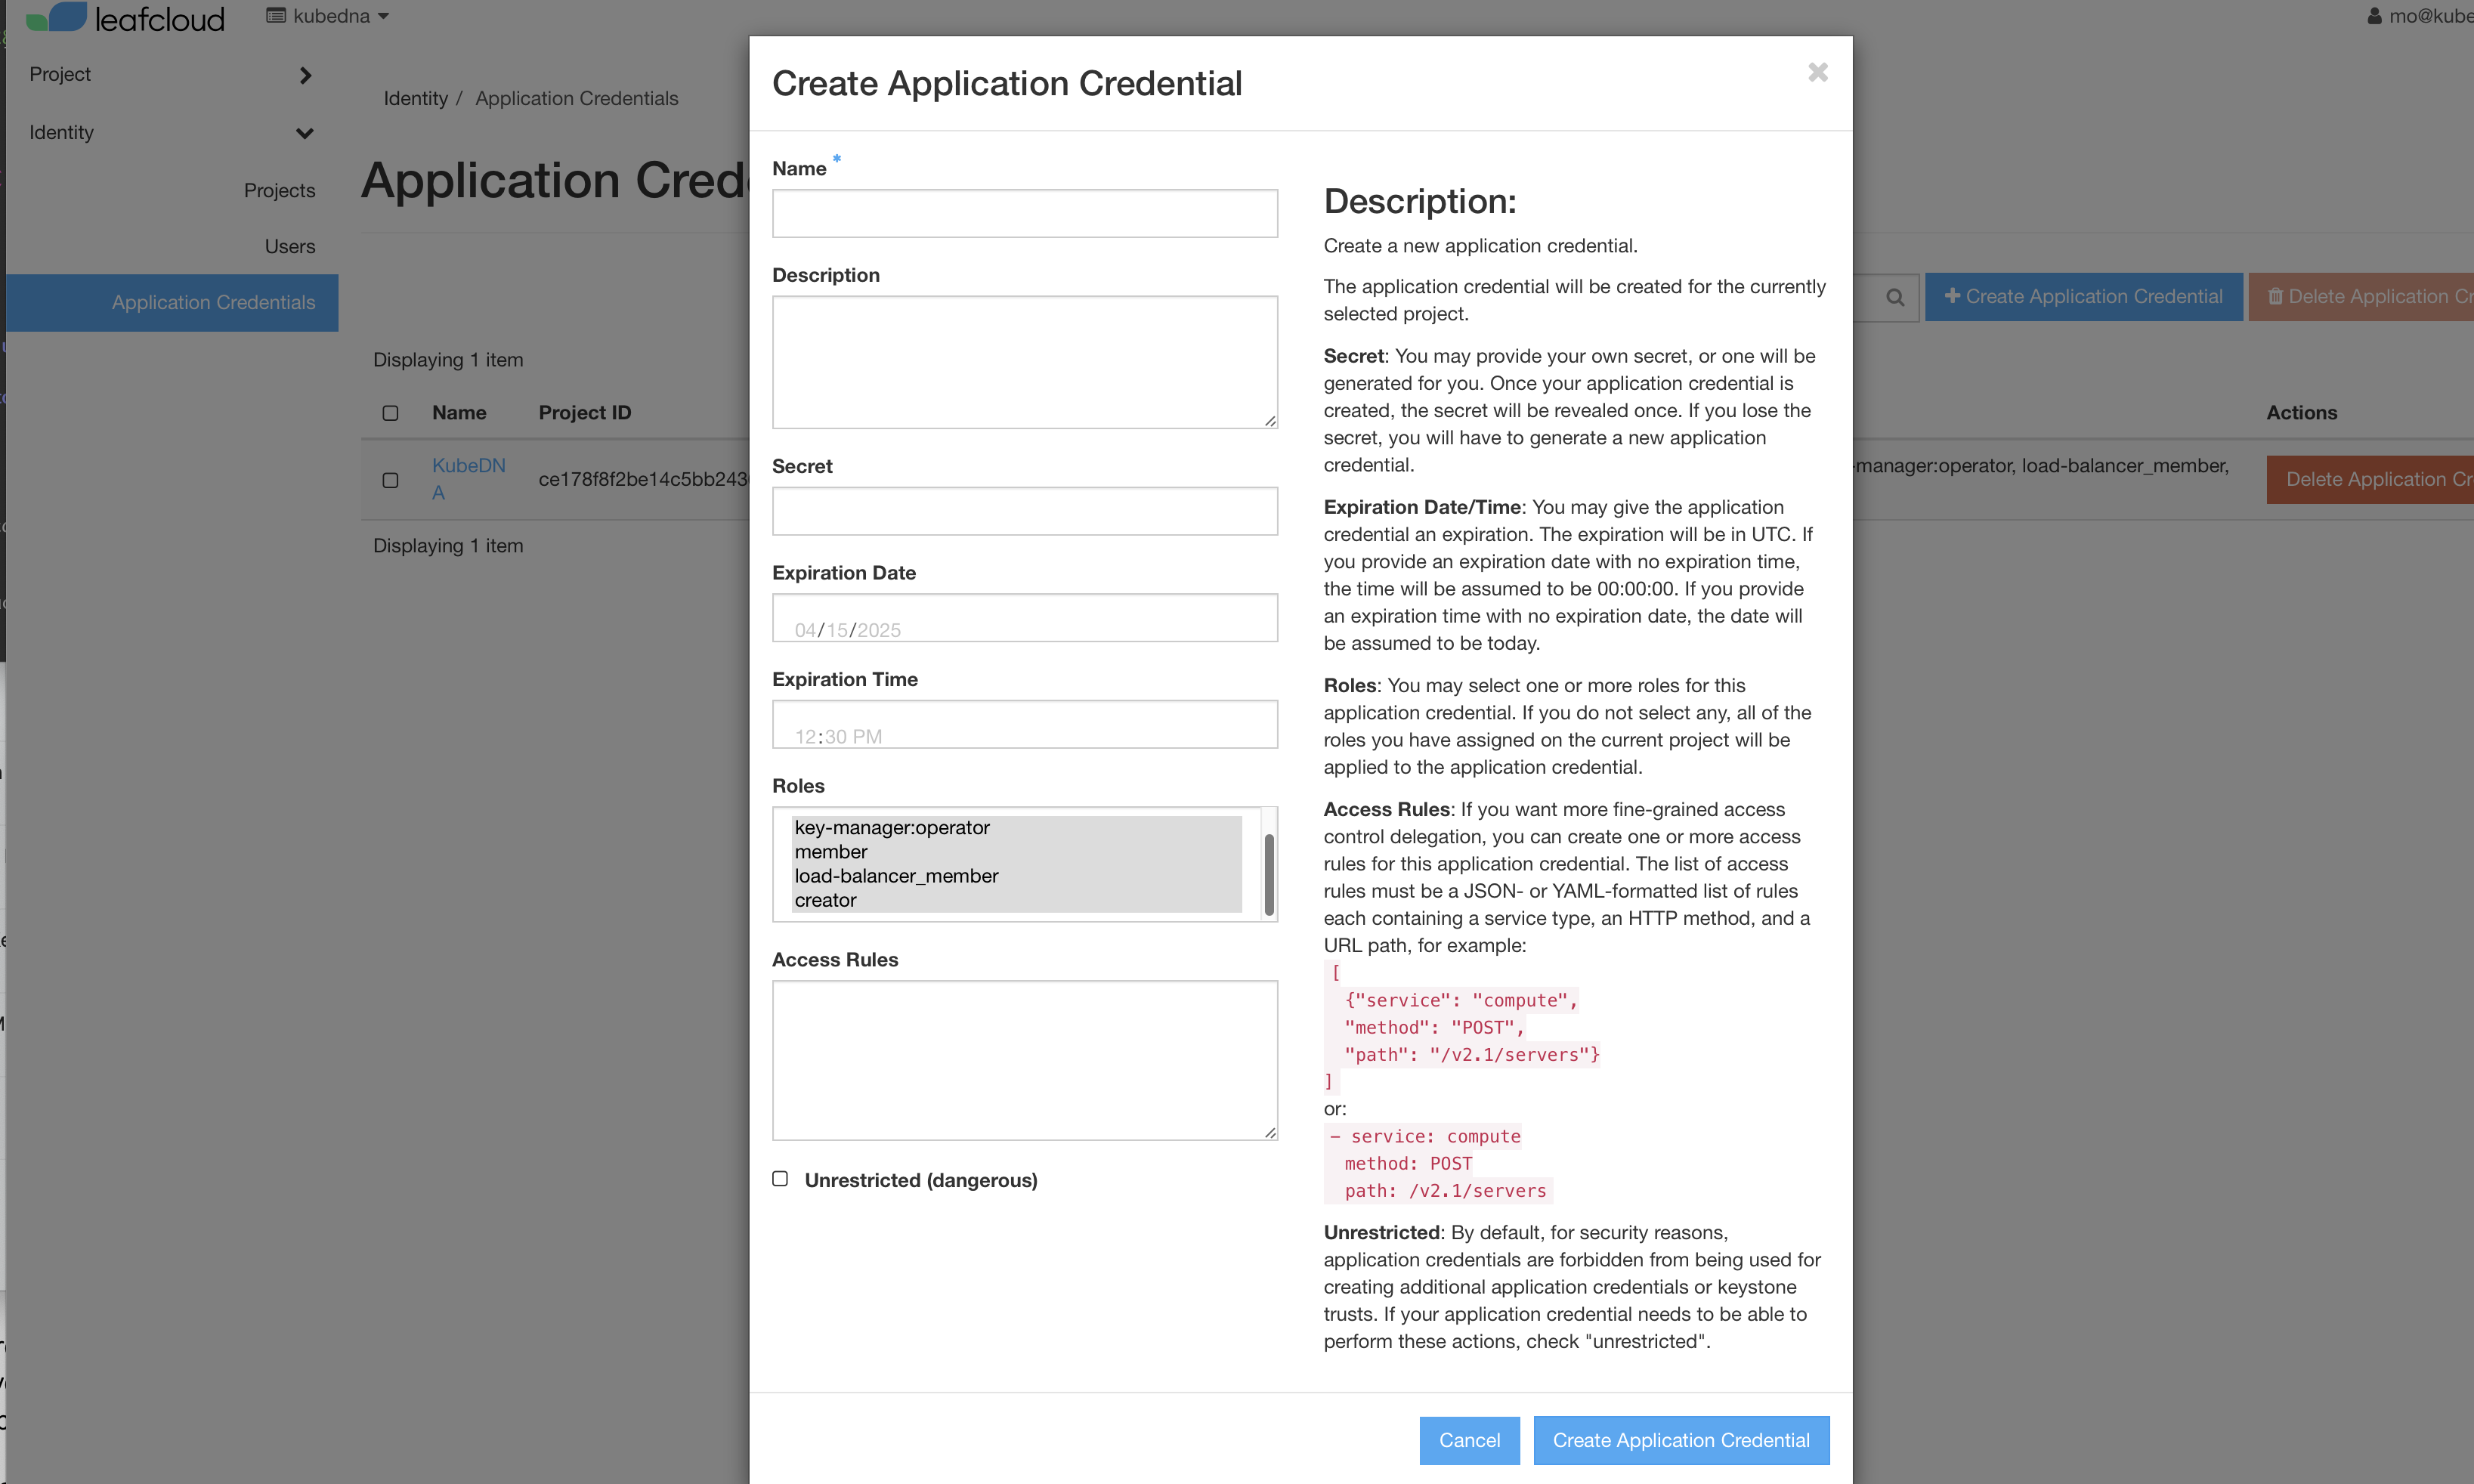
Create Application Credentials
Click on the Create Application Credential button.
In the creation form, provide:
Name: A descriptive name for your credential.
Description: Brief details about its purpose.
Expiration Date & Time: Set these values as needed.
Roles: Assign the following roles:
reader, keymanager:operator, member, load-balancer_member, creator.
Please consider your expiration date carefully! KubeDNA will not be able to push update to you cluster after expiration. Also consider updating your token before expiration date in the KubeDNA Dashboard
Copy Your Credentials
After generating the credential, copy the Application ID and Application Secret.
These values will be required when provisioning your cluster in KubeDNA.
Optional: If available, refer to any provided screenshots or a video tutorial from LeafCloud for a visual walkthrough of these steps.
B. Creating and Configuring a Cluster on KubeDNA
Access the KubeDNA Dashboard
Log in to your KubeDNA account and navigate to the homepage.
Initiate Cluster Creation
Click on the “+” icon (typically found on the overview or clusters page) to add a new cluster.
Choose Your Subscription
Select the subscription plan that fits your requirements.
If you have a voucher code, enter it in the designated field.
Enter Cluster Details
Provide a Name and a Description for your cluster.
Select Cloud Provider: LeafCloud
Choose LeafCloud as your cloud provider.
Paste the Application ID and Application Secret (from step A) into the appropriate fields.
Select the region where you want your cluster hosted.
Note: Available regions are based on what LeafCloud offers.
Configuring Cluster Nodes
Click on Add Cluster Nodes to automatically select the default three server nodes, ensuring high availability.
Set your cluster's scaling parameters:
Min-nodes: Define the minimum number of worker nodes required.
Max-nodes: Define the maximum number of nodes to accommodate peak scaling scenarios.
Optional: Visual indicators (such as screenshots) can aid in confirming the node configuration.
Review and Initialize
Check the summary of your configuration details.
Once satisfied, click on Initialize Cluster.
The provisioning process will commence, and you will receive an email notification once your cluster is ready.
Next Steps
After your cluster is initialized and you receive the confirmation email:
Deploy Workloads:
Begin deploying your applications and workloads on your new Kubernetes cluster.Monitor and Manage:
Use the KubeDNA dashboard to monitor the cluster's performance and manage deployments.Provider-Specific Adjustments:
For any additional configurations or troubleshooting specific to LeafCloud, refer to the LeafCloud documentation or support resources.
This documentation should serve as a detailed roadmap to set up your Kubernetes cluster on LeafCloud using KubeDNA. For further assistance or advanced configurations, please consult the corresponding sections in the KubeDNA and LeafCloud documentation.